In this article, I’ll share with you the functions I’ve designed to quickly draw an image segmentation mask in Python.
One of the major tasks of Computer Vision is image segmentation.
Segmentation consists in dividing an image into groups of pixels called “segments”.
To perform segmentation, you need to determine which pixels belong to a segment.
Usually, a segment represents an object in an image.
By segmenting all the pixels of an object, we can easily determine its location and contours.
The precision required for segmentation makes it both a complex and powerful task in object detection.
Here, I’ll introduce you to two functions whose aim is to :
- draw a single segmentation mask
- plot several segmentation masks simultaneously
The last function is an extension of the first, so even if you have several masks to plot, I suggest you follow the development of the first function carefully.
Note: In what follows, I’m assuming that you already own a segmentation masks for an image. If this is not the case, you can consult my article on SAM a state of the art Deep Learning model from Meta at this link to learn how to use it and obtain your own segmentation masks from an image.
Function for drawing a single segmentation mask on an image
To draw a segmentation mask, we’ll use open-cv and numpy libraries.
We assume we have two numpy arrays:
- the image with a shape (w, h, 3)
- the mask with shape (w, h, 3)
Here, the mask is a Boolean array. It indicates True if the pixel is in the segment, False otherwise.
The following is the function to obtain the segmented image:
import cv2
import numpy as np
def draw_mask(image, mask_generated) :
masked_image = image.copy()
masked_image = np.where(mask_generated.astype(int),
np.array([0,255,0], dtype='uint8'),
masked_image)
masked_image = masked_image.astype(np.uint8)
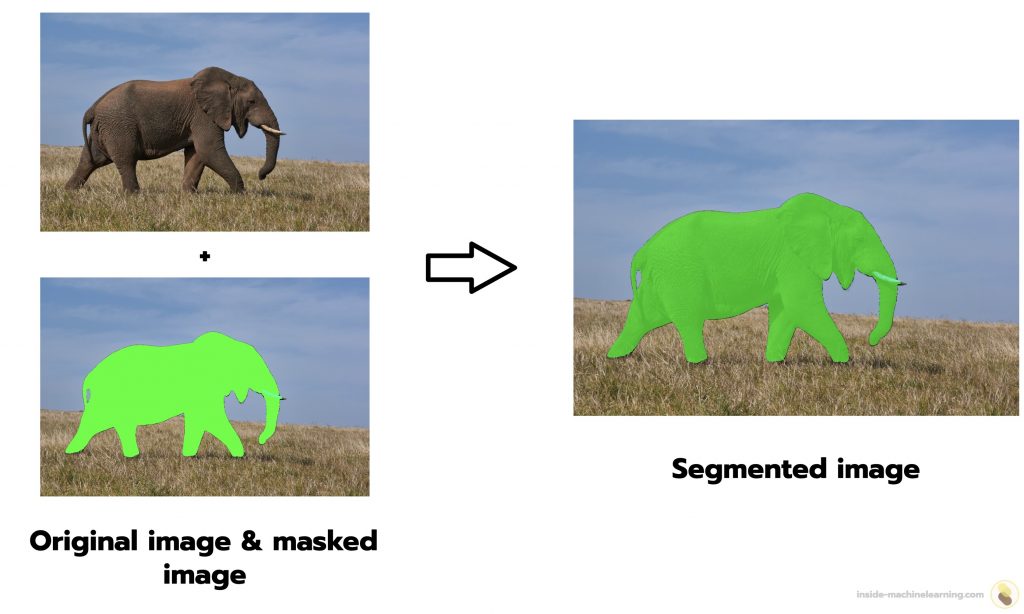
return cv2.addWeighted(image, 0.3, masked_image, 0.7, 0)The function first creates a copy of the image. Then it applies the mask using the np.where().
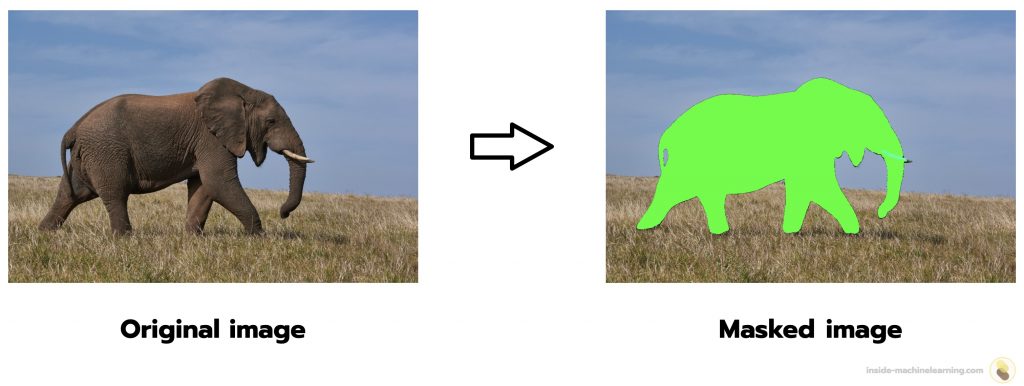
The result is an image with a mask over the segmented object.
Unfortunately, the mask is opaque: we can’t see through it. The segmented object is therefore indistinguishable.
To improve visualization, we overlay the starting image on the masked image (by modifying their opacity) with the code cv2.addWeighted(image, 0.3, masked_image, 0.7, 0). We then obtain an image that preserves both the mask and the segmented object.
The image can then be displayed as follows :
By the way, if your goal is to master Deep Learning - I've prepared the Action plan to Master Neural networks. for you.
7 days of free advice from an Artificial Intelligence engineer to learn how to master neural networks from scratch:
- Plan your training
- Structure your projects
- Develop your Artificial Intelligence algorithms
I have based this program on scientific facts, on approaches proven by researchers, but also on my own techniques, which I have devised as I have gained experience in the field of Deep Learning.
To access it, click here :
Now we can get back to what I was talking about earlier.
segmented_image = draw_mask(image, mask)

cv2.imshow(segmented_image)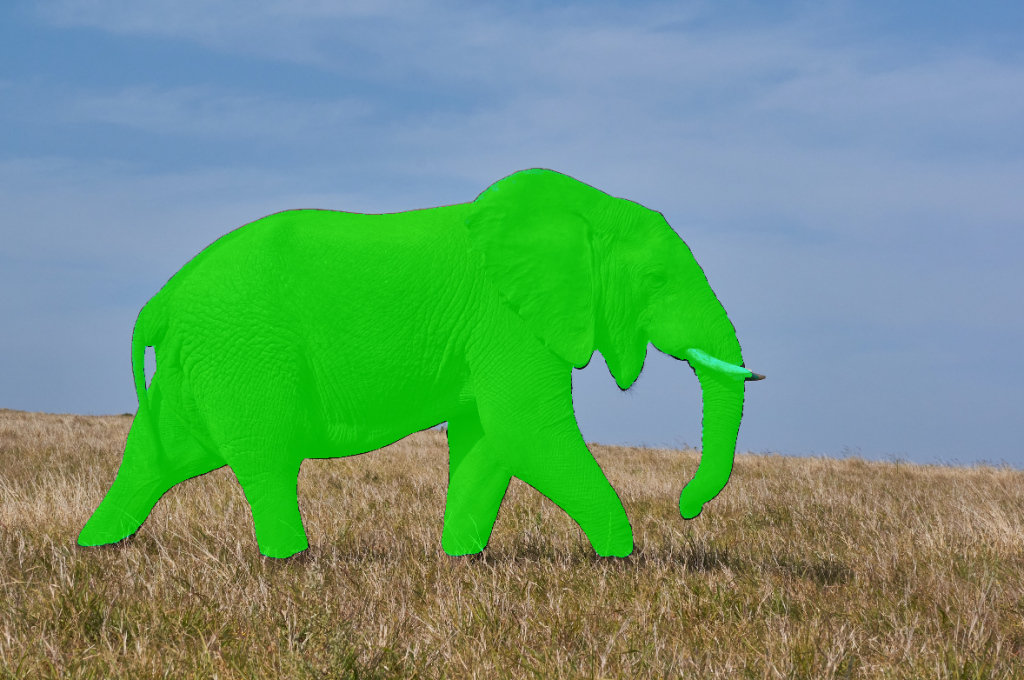
With the draw_mask function, we can draw a segmentation mask on our image.
Let’s see how to adapt this function to use it with multiple masks.
Function for drawing multiple segmentation masks on an image
Segmentation masks are often output of Deep Learning models. In this context, two types of results are possible:
- masks contained in a list of tables
- masks are contained in a list of dictionaries
Here, we will adapt the function developed in Part 1 to these two particular cases.
From a list of tables
Here’s the function for drawing several masks on an image from a list of arrays:
def draw_masks_fromList(image, masks_generated, labels, colors) :
  masked_image = image.copy()
  for i in range(len(masks_generated)) :
    masked_image = np.where(np.repeat(masks_generated[i][:, :, np.newaxis], 3, axis=2),
                            np.asarray(colors[int(labels[i][-1])], dtype='uint8'),
                            masked_image)

    masked_image = masked_image.astype(np.uint8)

  return cv2.addWeighted(image, 0.3, masked_image, 0.7, 0)
We’ve added to the basic function :
- a
forloop to browse the list of masks - two lists :
labelscorresponding to the detected classescolorscorresponding to the colors to be used for each label
Next, we can display the image:
COLORS = [(255,0,0),(255,255,0)]

LABELS = [[0], [0]] # 0 for bird, 1 for sheep

segmented_image = draw_mask(image, masks_list, LABELS, COLORS)

cv2.imshow(segmented_image)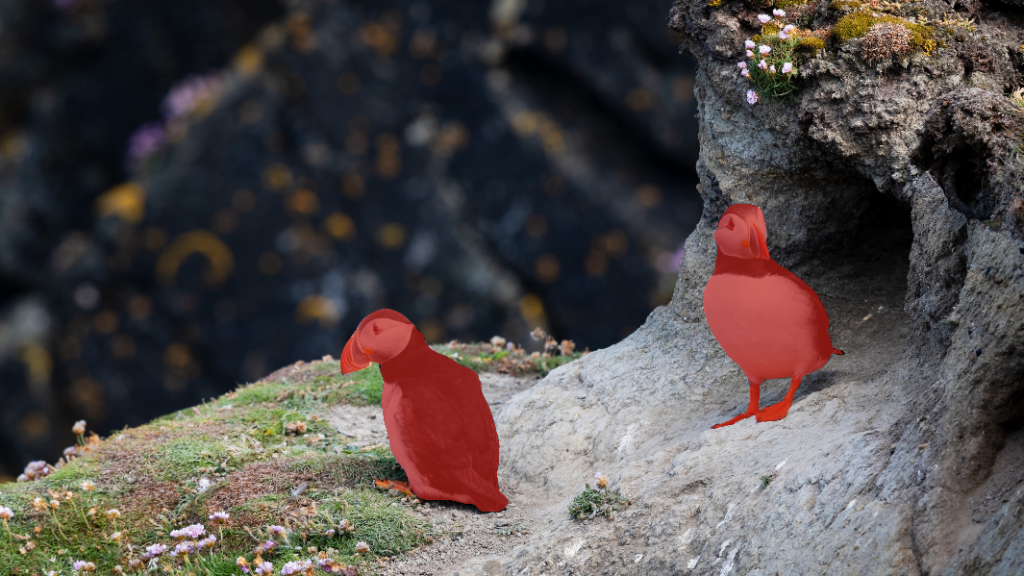
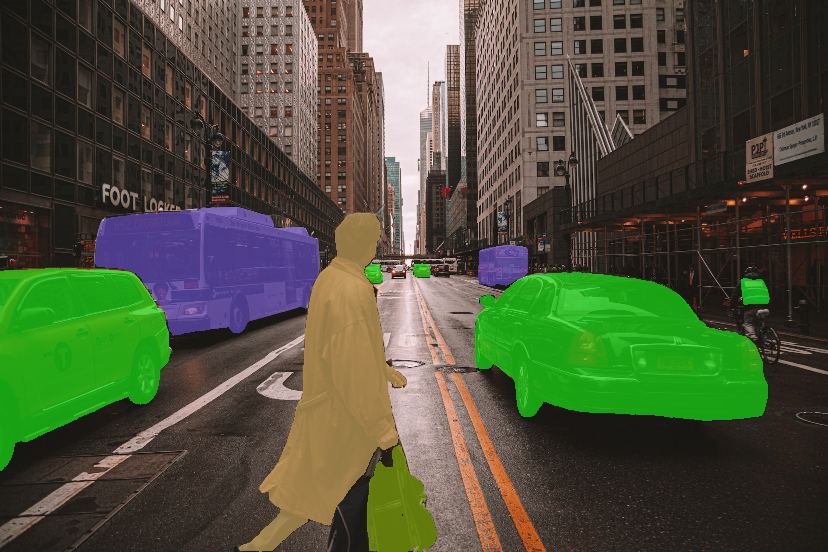
A segmented image is obtained from a list of arrays.
From a list of dictionaries
Here’s the function for drawing several masks on an image from a list of dictionaries:
def draw_masks_fromDict(image, masks_generated) :
  masked_image = image.copy()
  for i in range(len(masks_generated)) :
    masked_image = np.where(np.repeat(masks_generated[i]['segmentation'].astype(int)[:, :, np.newaxis], 3, axis=2),
                            np.random.choice(range(256), size=3),
                            masked_image)

    masked_image = masked_image.astype(np.uint8)

  return cv2.addWeighted(image, 0.3, masked_image, 0.7, 0)
The function is designed for dictionaries containing masks with the key named 'segmentation', and for use without prior classes.
Next, you can display the image:
segmented_image = draw_mask(image, masks_dict)

cv2.imshow(segmented_image)
A segmented image is obtained from a list of dictionaries.
As you can see, drawing segmentation masks on an image is relatively quick. However, you may also want to draw segmentation masks on videos.
In that case, you can access my free Object Detection Off-road course. In it, you’ll learn how to segment videos easily with SAM.
To access your free training, click here :
One last word, if you want to go further and learn about Deep Learning - I've prepared for you the Action plan to Master Neural networks. for you.
7 days of free advice from an Artificial Intelligence engineer to learn how to master neural networks from scratch:
- Plan your training
- Structure your projects
- Develop your Artificial Intelligence algorithms
I have based this program on scientific facts, on approaches proven by researchers, but also on my own techniques, which I have devised as I have gained experience in the field of Deep Learning.
To access it, click here :