In this post, we’ll explore PyTorch library to easily load image and volume from folder.
There are many different types of images in IT and at least as many different ways to load them.
Here we will focus on the most common types, photographs, and then explore medical images… a bit more complex than the first ones.
For this we will use two complementary libraries :
- PyTorch
- imageio
[smartslider3 slider=”27″]
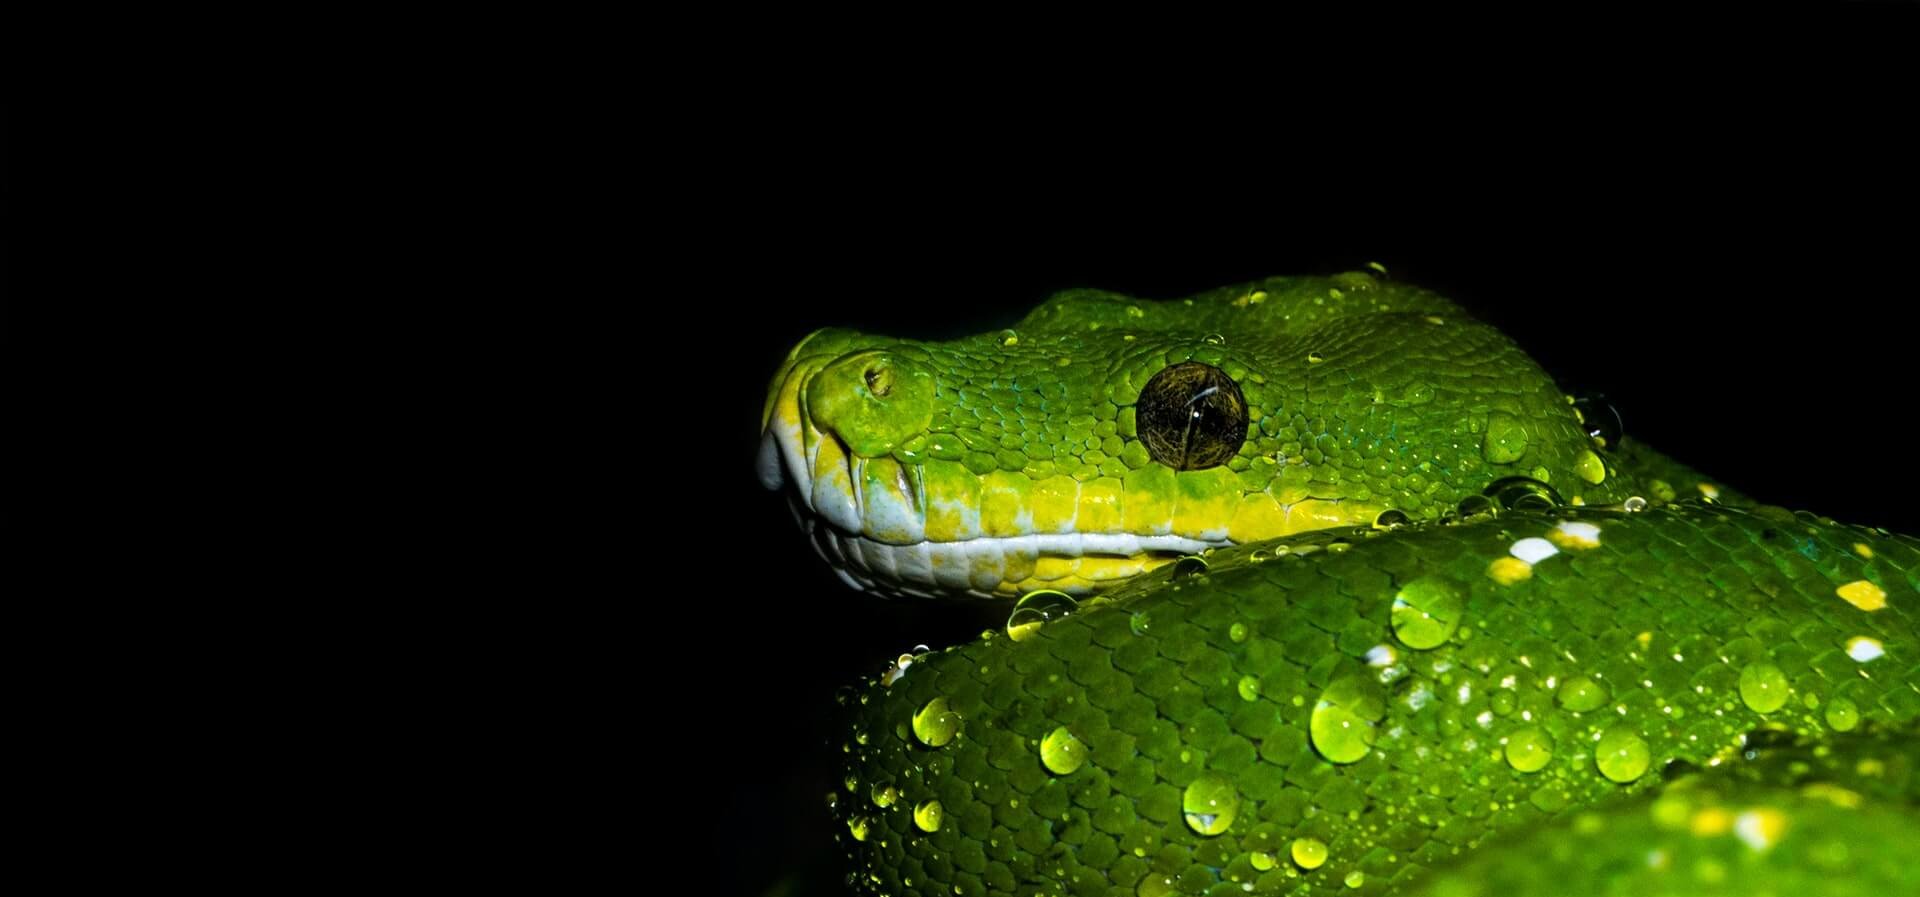
Photo by Taneli Lahtinen on Unsplash
2D Image – RGB Image
For this tutorial we will use a dataset provided by the authors of Deep Learning with PyTorch.
This dataset is composed of various datasets distributed in different directories.
First we load the dataset from GitHub :
!git clone https://github.com/tkeldenich/PyTorch_Load_Image_FromRepository.git &> /dev/nullTwo ways to upload image
Once our dataset is loaded, we have two options to retrieve the images in Python :
- directly in PyTorch tensor format
- via an array, for example NumPy array
Load image with torchvision tensor
We may load image with torchvision. As the name suggests, it is a sub-library of PyTorch.
This package contains several things like :
- datasets
- model architectures
- functions to read and transform images and videos
- and many more…
In fact this package is the Computer Vision part of PyTorch !
Feel free to read the documentation for more information 😉
Torchvision is separate from the PyTorch library so you don’t even need to import torch, only torchvision.
We use the torchvision.io.read_image() function to load our image into a tensor :
import torchvision

tsr_img = torchvision.io.read_image('/content/PyTorch_Load_Image_FromRepository/data/image-dog/bobby.jpg')
tsr_img.shape
It is interesting to note that the shape of the image is [3, 720, 1280] whereas in most image formats on Python we would have had a shape [720, 1280, 3].
3 representing the colour dimension, 720 the width and 1280 the height.
If we want to display our image with matplotlib we need to transform the image format from [3, 720, 1280] to [720, 1280, 3].
To do this we use the permute() function which allows us to move the dimensions of a tensor.
Once this is done we could display our image :
import matplotlib.pyplot as plt

plt.imshow(tsr_img.permute((1,2,0)))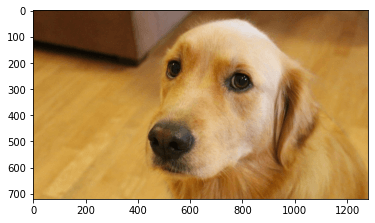
Load image with imageio array
We may also load images using the imageio library.
In fact this library is not related to PyTorch but it will be useful for some types of images… that’s what we will see later in this article.
Instead of creating a tensor, imageio creates an array.
The difference between a tensor and an array is in the way the data is stored in memory.
We use the imread() function to read an image :
import imageio

img_arr = imageio.imread('/content/PyTorch_Load_Image_FromRepository/data/image-dog/bobby.jpg')
img_arr.shape
Here, as explained in the previous section, the dimensions of the image are [720, 1280, 3].
We can therefore directly display the image with matplotlib without applying any transformation !
import matplotlib.pyplot as plt

plt.imshow(img_arr)
Did you notice ? Both libraries contain “io“.
- torchvision.io.read_image
- imageio
This actually means that they apply IO operations. These are operations that allow you to manage input and output streams.
io is the default module for handling these types of streams in Python 3.
I/O stands for “Input/Output“.
Storing multiple images in a variable
Retrieving data
It may be interesting to store several images in the same variable, particularly for Deep Learning.
This type of variable containing several images in the form of a tensor is called a batch.
We can create a batch using the stack() function.
To do so, we need to read the images in tensor format and then use the stack() function on all the tensors created.
This will look like :
tsr_img1 = torchvision.io.read_image('image1.jpg')
tsr_img2 = torchvision.io.read_image('image2.jpg')
...
tsr_img100 = torchvision.io.read_image('image100.jpg')

batch = torch.stack([tsr_img1, tsr_img2, ..., tsr_img100])
A more convenient method to avoid writing 50 lines of repetitive code is to store all the PNG images directly in a single tensor.
To do this we import the os library which will allow us to interact with our files.
We indicate the path of the folder where our images are located in data_dir.
Then we recover the name of all the files ending in “.png”, the images thus :
import os

data_dir = '/content/PyTorch_Load_Image_FromRepository/data/image-cats/'

filenames = [name for name in os.listdir(data_dir) if os.path.splitext(name)[-1] == '.png']
Note : if we are sure that all the files in our folder are images we can write :
filenames = [name for name in os.listdir(data_dir)]Storing data
Once we have the name of each image, we need to create an empty tensor.
In fact this empty tensor will contain all our images. It’s a batch of images.
The only thing to do is to give it an appropriate format to contain our images.
Here we have four dimensions :
By the way, if your goal is to master Deep Learning - I've prepared the Action plan to Master Neural networks. for you.
7 days of free advice from an Artificial Intelligence engineer to learn how to master neural networks from scratch:
- Plan your training
- Structure your projects
- Develop your Artificial Intelligence algorithms
I have based this program on scientific facts, on approaches proven by researchers, but also on my own techniques, which I have devised as I have gained experience in the field of Deep Learning.
To access it, click here :
Now we can get back to what I was talking about earlier.
- Number of images to add to the batch (called batch_size)
- Image colours (here we have 3 colours: red, green, blue)
- Width (256)
- Height (256)
We will use zeros() to create an “empty” tensor (filled only with zero), which gives us :
import torch

batch_size = len(filenames)
batch = torch.zeros(batch_size, 3, 256, 256, dtype=torch.uint8)
Note :
We will have a batch of 3 images (batch_size = 3) in fact we took the total number of images contained in the folder thanks to len(filename)
the tensor will contain 8-bit integer (as in most of the photographic formats of standard consumer cameras), we specify dtype=torch.uint8
Once the empty tensor is created, it must be filled in!
We therefore create a for loop which allows us to add each of the images to the batch tensor.
for i, filename in enumerate(filenames):
 batch[i] = torchvision.io.read_image(os.path.join(data_dir, filename))
We can then display the images by browsing our batch tensor :
import matplotlib.pyplot as plt

fig = plt.figure(figsize=(8, 2))
for i in range(batch.shape[0]) :
 ax = fig.add_subplot(1, 3, i+1)
 ax.imshow(batch[i].permute(1, 2, 0))
Or display a single image :
import matplotlib.pyplot as plt

plt.imshow(batch[0].permute(1, 2, 0))
Normalizing the data
If you are on our site I imagine that it is not to play tennis… to realize Deep Learning it may be interesting to normalize the data.
In fact, Artificial Intelligence researchers have found that neural networks perform better when the input data is in float format but also when the data is between 0 and 1, or between -1 and 1.
Therefore, we usually convert our tensors to the scale of 0 to 1 or -1 to 1, this is called normalisation.
En fait les chercheurs en Intelligence Artificielle se sont aperçus que les réseaux de neurones affichent de meilleures performancesd’apprentissage lorsque les données d’entrée sont d’une part au format float (chiffres à virgules) mais aussi lorsque les données sont comprises entre 0 et 1, ou entre -1 et 1.
One possibility is to simply divide the values of each pixel in our image by 255 (the maximum number representable in 8-bit):
batch = batch.float()
batch /= 255.0
With this method, our pixels will be between 0 and 1.
The other possibility, -1 and 1, consists of subtracting from each pixel the average and dividing by the standard deviation, this on each image.
This allows us to modify the scale so that the modified pixels have a mean of 0 and a standard deviation of 1 :
batch = batch.float()

n_images = batch.shape[1]

for c in range(n_images):
 mean = torch.mean(batch[:, c])
 std = torch.std(batch[:, c])
 batch[:, c] = (batch[:, c] - mean) / std
3D image – Volume
What is medical imagery ?
We’ ve learned to load and represent 2D images, the most common images taken with cameras.
In some contexts, however, such as in medicine with medical imaging, we are dealing with 3D images.
This type of image is called a volume.
The image consists of a sequence of 2D slices that represent the object being analysed (usually the human body or an organ).
Each slice is represented by an image, a matrix of pixels (X and Y coordinates). The Z coordinate indicates the number of the slice.
In fact these 3D images are sequences of images. Each of the sequences corresponds to a slice of the human body.
They are called 3D images because they provide a 3-dimensional view of the human body.
We will therefore load a volume sample of a lung obtained by CAT-scan or CT scan.
This volume is located in the folder “volumetric-dicom/2-LUNG 3.0 B70f-04083”. The directory contains a set of images in DICOM (Digital Imaging and Communications in Medicine) format, which is standard format for computer management of data from medical imaging.
The combination of all these DICOM images is the volume.
Using medical images
To load this volume we use a very specific function, volread() from the imageio library.
import imageio

dir_path = "/content/PyTorch_Load_Image_FromRepository/data/volumetric-dicom/2-LUNG 3.0  B70f-04083"
vol_arr = imageio.volread(dir_path, 'DICOM')
We can check the dimensions of our volume using shape() :
vol_arr.shapeWe have 99 images with height and width 512×512 pixels.
Then, we can easily transform this array into a PyTorch tensor with from_numpy().
We then transform the pixels of this tensor into float() for more convenience in future transformations.
vol = torch.from_numpy(vol_arr)
vol = vol.float()
In order for PyTorch to understand that our set of images actually represents a 3D image we need to add a dimension.
We will then have four dimensions :
- width
- height
- number of DICOM images
- number of volumetric images
vol = torch.unsqueeze(vol, 0)
vol.shape
We can display one of the images :
plt.imshow(vol[0,10])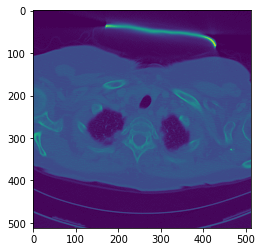
Or display various ones :
import matplotlib.pyplot as plt

fig = plt.figure(figsize=(20, 4))
for i in range(6) :
 ax = fig.add_subplot(1, 6, i+1)
 ax.imshow(vol[0, i+i*10])
load image load image
sources :
- L. Antiga, Deep Learning with PyTorch (2020, Manning Publications) :
One last word, if you want to go further and learn about Deep Learning - I've prepared for you the Action plan to Master Neural networks. for you.
7 days of free advice from an Artificial Intelligence engineer to learn how to master neural networks from scratch:
- Plan your training
- Structure your projects
- Develop your Artificial Intelligence algorithms
I have based this program on scientific facts, on approaches proven by researchers, but also on my own techniques, which I have devised as I have gained experience in the field of Deep Learning.
To access it, click here :